
Better Barriers™ Install Guides
Find detailed installation instructions for many of our most popular products.
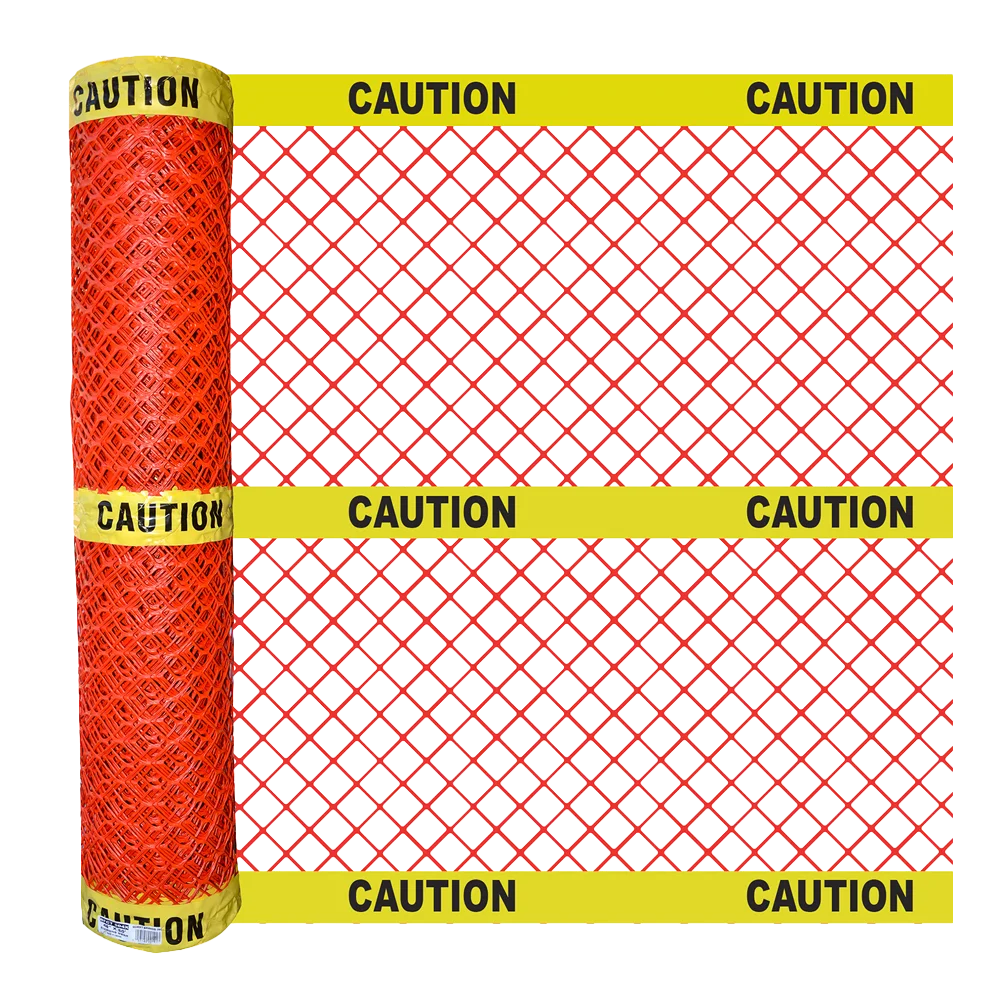
Accessories Required
Suggested accessories required for installation of 50 feet of Better Barriers™ Barricade or Barrier Fence.
- 7 steel T-Posts (minimum 6 feet high)
- 35 locking ties approximately 8″-10″ long
Installation Instructions
- T-Posts should be inserted a minimum of 1.5’ in the ground and a maximum of 8’ apart.
- Secure the fence and the T-Post together using locking ties spaced at 1’ intervals.
- To connect fencing sections, overlap 2 strand sections from each end and weave a 1” x 2” slat through the overlaped strand.
- Fence should be tensioned by hand only. DO NOT USE MECHANICAL TENSIONERS.
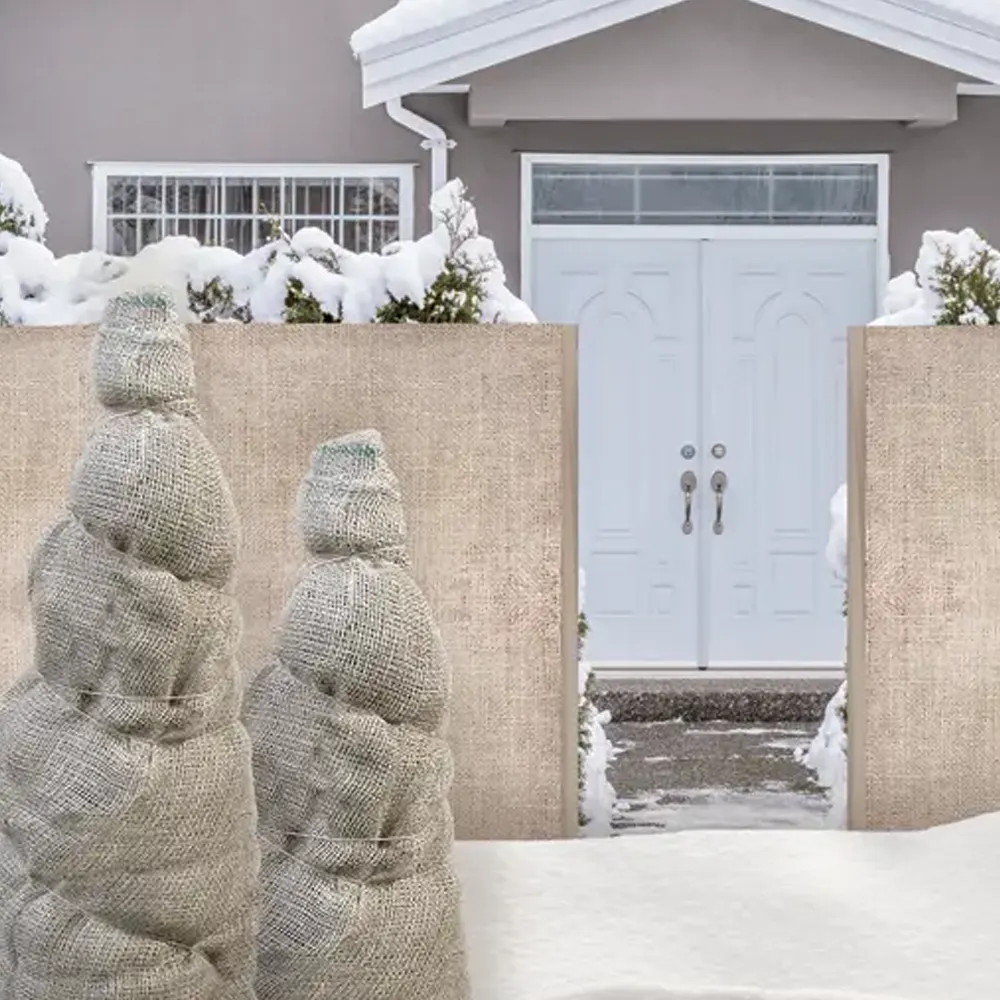
Installation Instructions For Winter Plant Protection
Protecting individual trees or shrubs:
- Tie the leading end of the burlap to the trunk below the lowest branch.
- Proceed to wrap the tree or shrub in an upward spiral direction allowing an overlap of minimum 6” to 12” of burlap so that the limbs are protected completely.
- Then using Quest® Sisal Twine overwrap the burlap sufficiently to secure it in place.
Protecting hedge rows:
- Place wooden supports (ex. 2” x 2” wooden stakes ) every 3’ over the full length of the hedge. Ensure that the stakes are in the ground minimum 18” and extend up to the top of the area that you desire protection.
- Staple the leading edge of the burlap to the first stake and staple every 6” up to the full height of the fabric. Pull the burlap securely to the next stake and repeat stapling procedure. Continue until the barrier is complete.
Installation Instructions For Gypsy Moth Trap
- In late May or early June, securely wrap the burlap cloth around the trunk of your tree and overlap the two ends slightly and cut.
- Using the jute twine provided, about a third of the way up, tie twine snugly around the burlap cloth and cut.
- Drape the top part of the burlap over the jute twine so there is an overhang of burlap material where the caterpillars will crawl underneath to seek shelter.
- Once a day in the late afternoon, check overhanging burlap and collect hiding caterpillars and destroy them.
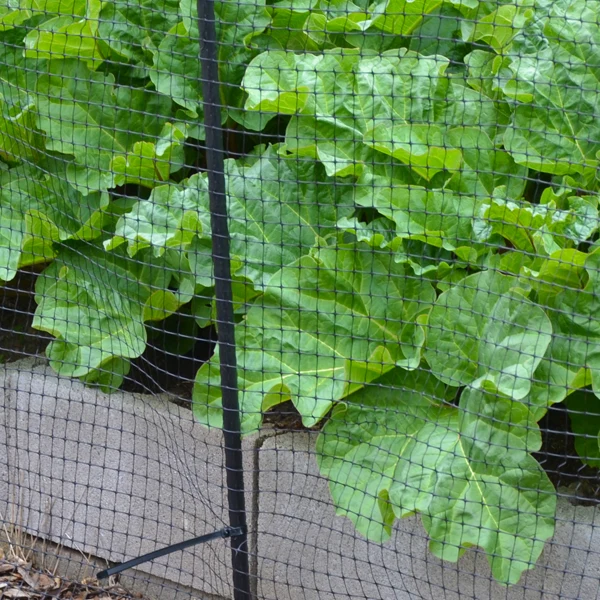
Accessories Required
Suggested accessories required for installation of 100 feet of Better Barriers™ Deer Fence.
- 11 stakes or posts (minimum 8 feet high)
- 44 locking ties approximately 4″-6″ long
Installation Instructions
- Place one recommended 8′ stake/post outside each corner of your garden. Insert them into the ground to a depth of 12″.
- Continue to insert stakes/posts evenly around the perimeter of your garden at the same depth as above, with no stake being any more than 10′ apart from another.
- Attach the leading edge of the black deer fence to the first stake using cable ties. For best results, ensure that the ties are tied securely at the top and bottom and evenly spaced along the 7′ length of the upright stake/post. Repeat for each stake as you unroll the deer fence around the perimeter of your garden.
- To build a gate, once all of the upright stakes/posts are tied to the fence, (but not tied back to your first stake/post) take one extra stake/post and stake it into the ground directly beside the first stake. Finish the enclosure by attaching the remaining fence to the last stake. You should now have a simple gate through which you can access your garden.
- Smaller animals can be deterred by securing the base of the fence to the ground. Use fence staples every 5 feet around the perimeter of the fence.
- Fence should be tensioned by hand only. DO NOT USE MECHANICAL TENSIONERS.
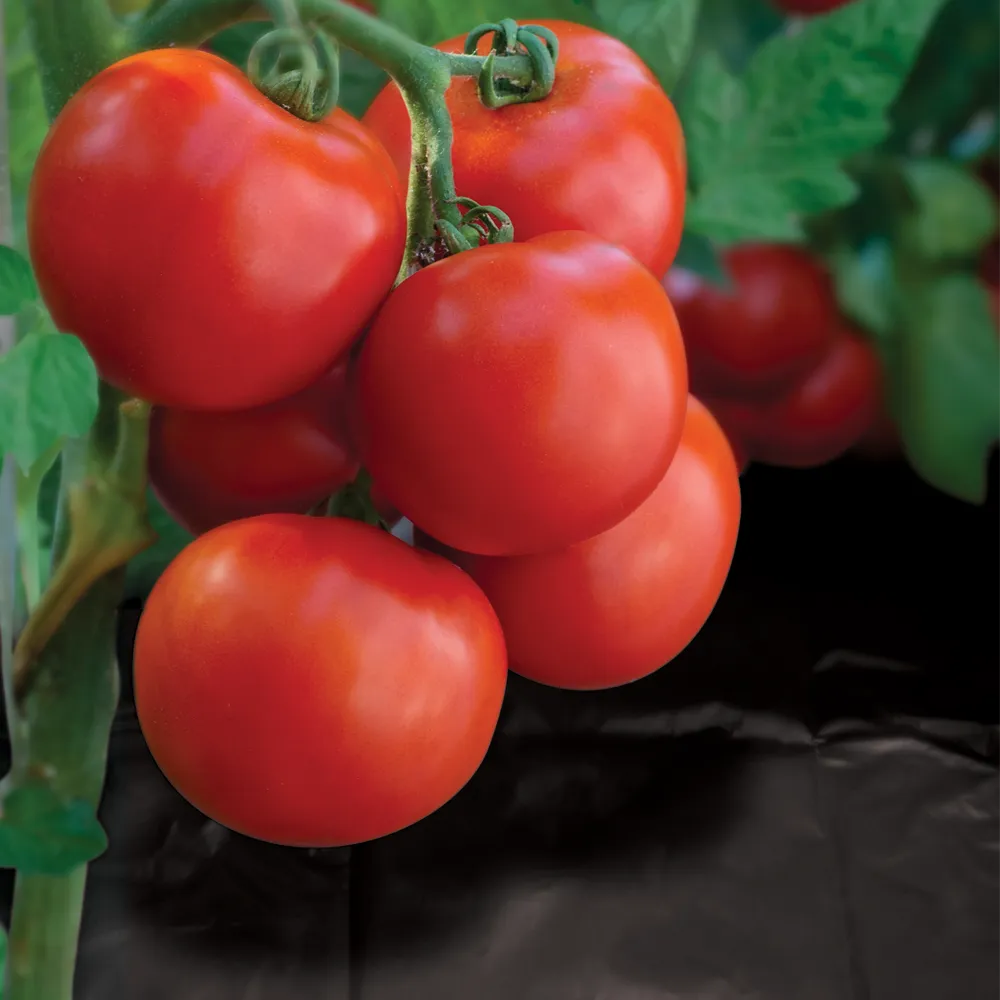
Installation Instructions
- Roll out our Better Barriers™ Garden Mulch Film and cut to length. When overlapping the product allow at least a 4”-5” overlap.
- For new plants cut an X in the product large enough to plant through. If plants exist cut an X large enough to slip the product over the plant.
- During installation it is recommended that you use our Quest®, Fabric & Garden Staples to securely anchor each section of the Better Barriers™ product to the soil.
- This Better Barriers™ product is designed to be an annual solution to unwanted weed growth, while conserving moisture.
Installation Instructions
For Permanent Perennial Gardens
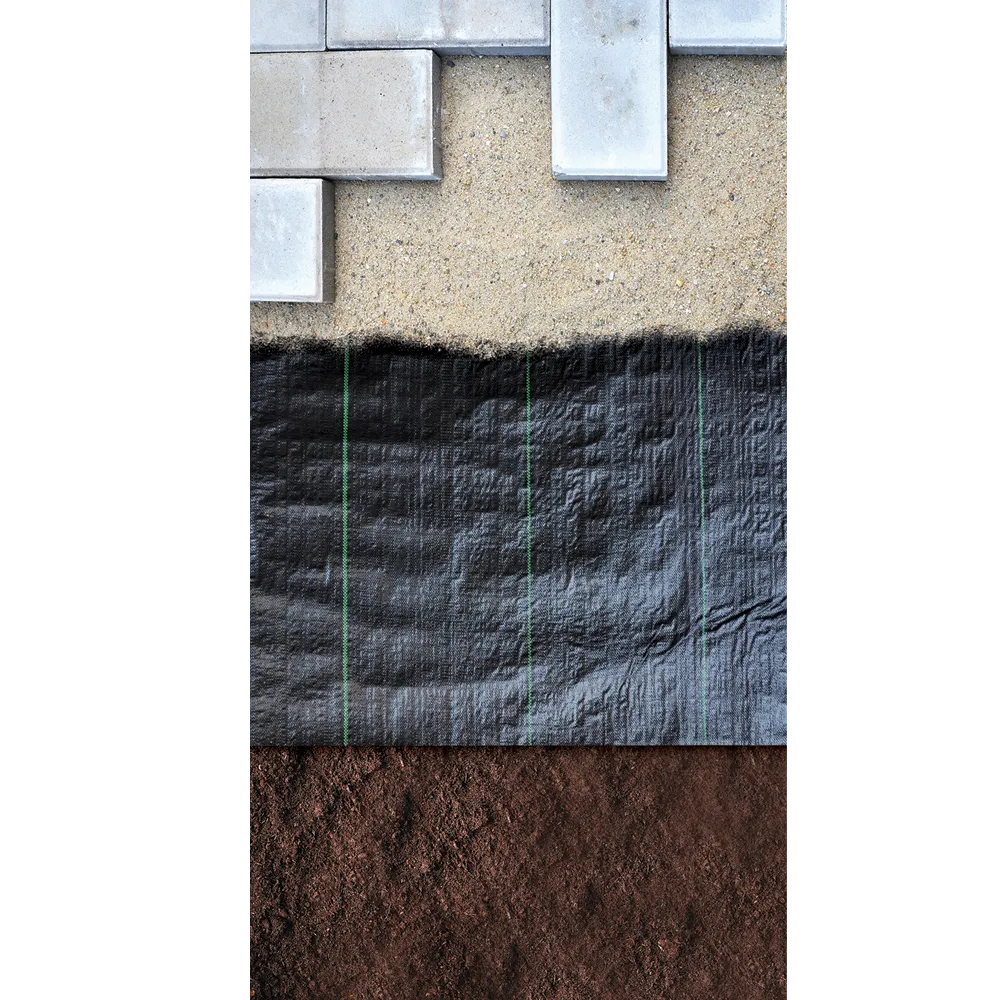
- Roll out our Better Barriers™ Hardscape Fabric and cut to length. When overlapping the product allow at least a 7.6 cm – 12.7 cm (3 – 5 in) overlap.
- For new plants cut an X in the product large enough to plant through. If plants exist cut an X large enough to slip the product over the plant. If very large shrubs or trees are present, cut a slit from the edge of the fabric to the base of the tree and slip fabric around the base. Since the slits will tend to expose the soil below, it is recommended that the slit be overlapped with strips of fabric wide enough to overlap the slit by 7.6 cm – 12.7 cm (3 – 5 in) on each side.
- During installation it is recommended that you use our Quest ® Fabric & Garden Staples to securely anchor each section of the Better Barriers™ product to the soil.
- Cover the fabric with a minimum of 7.6 cm (3 in) of bark or mulch. If covering with stone, marble chips or crushed clay, then cover with at least 7.6 cm – 10 cm (3 – 4 in) of material and use enough small-sized pieces to fill in the resulting spaces. All hardscape fabrics are weakened by U.V. rays of the sun which makes complete coverage important for long-term satisfying results.
For Hardscape Projects
- Roll out our Better Barriers™ Hardscape Fabric and cut to length. When overlapping the product allow at least a 7.6 cm – 12.7 cm (3 – 5 in) overlap.
- During installation it is recommended that you use our Quest ® Fabric & Garden Staples to securely anchor each section of the Better Barriers™ product to the soil.
- Apply the aggregate profile suitable for your project, prep and complete.
Installation Instructions
For Permanent Perennial Gardens
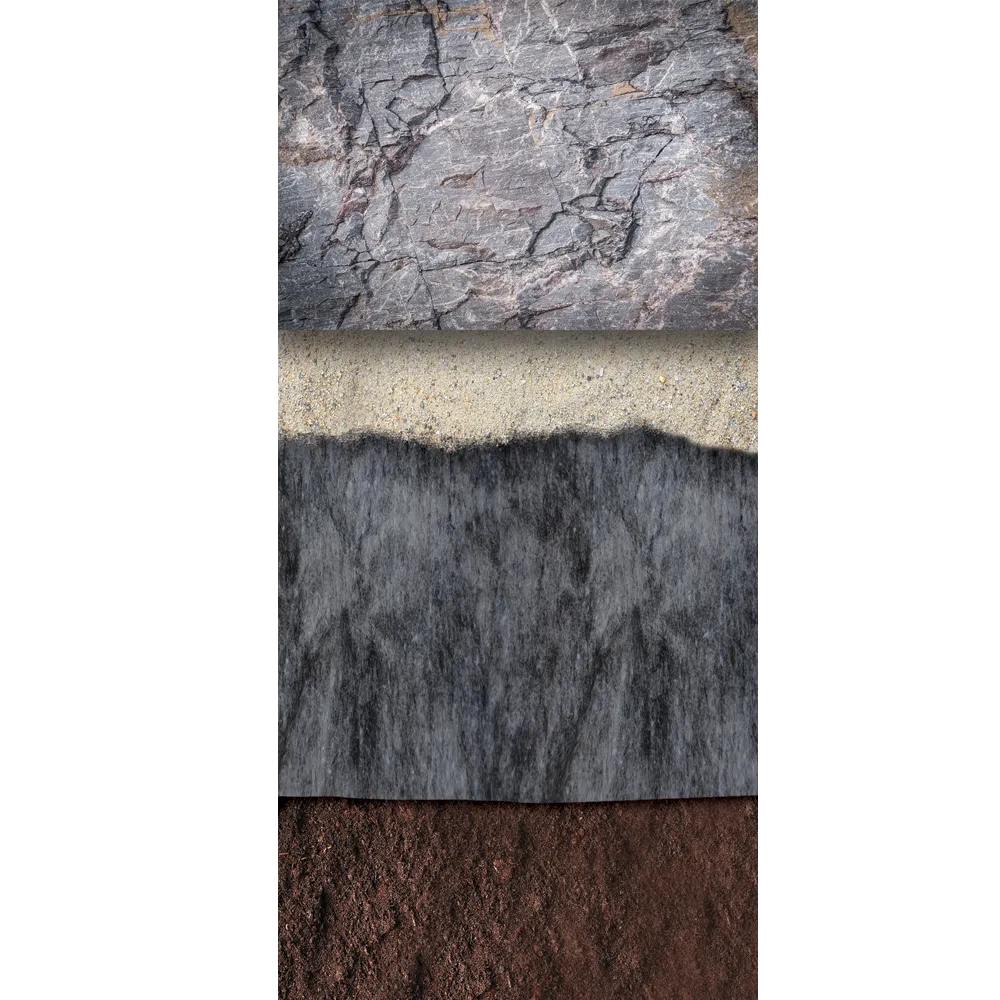
- Roll out our Better Barriers™ Hardscape Fabric and cut to length. When overlapping the product allow at least a 7.6 cm – 12.7 cm (3 – 5 in) overlap.
- For new plants cut an X in the product large enough to plant through. If plants exist cut an X large enough to slip the product over the plant. If very large shrubs or trees are present, cut a slit from the edge of the fabric to the base of the tree and slip fabric around the base. Since the slits will tend to expose the soil below, it is recommended that the slit be overlapped with strips of fabric wide enough to overlap the slit by 7.6 cm – 12.7 cm (3 – 5 in) on each side.
- During installation it is recommended that you use our Quest ® Fabric & Garden Staples to securely anchor each section of the Better Barriers™ product to the soil.
- Cover the fabric with a minimum of 7.6 cm (3 in) of bark or mulch. If covering with stone, marble chips or crushed clay, then cover with at least 7.6 cm – 10 cm (3 – 4 in) of material and use enough small-sized pieces to fill in the resulting spaces. All hardscape fabrics are weakened by U.V. rays of the sun which makes complete coverage important for long-term satisfying results.
For Hardscape Projects
- Roll out our Better Barriers™ Hardscape Fabric and cut to length. When overlapping the product allow at least a 7.6 cm – 12.7 cm (3 – 5 in) overlap.
- During installation it is recommended that you use our Quest ® Fabric & Garden Staples to securely anchor each section of the Better Barriers™ product to the soil.
- Apply the aggregate profile suitable for your project, prep and complete.
Installation Instructions
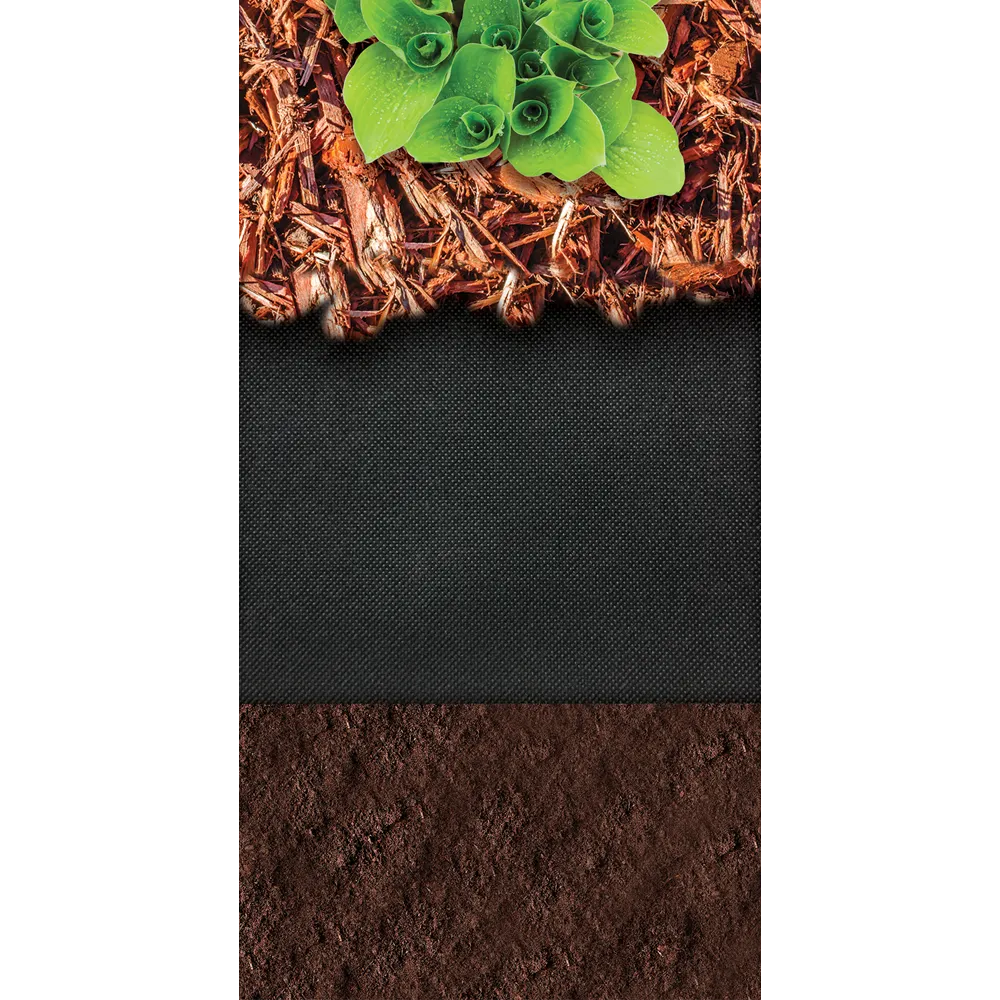
- Roll out our Better Barriers™ Landscape Fabric and cut to length. When overlapping the product allow at least a 7.6 cm – 12.7 cm (3 – 5 in) overlap.
- For new plants cut an X in the product large enough to plant through. If plants exist cut an X large enough to slip the product over the plant. If very large shrubs or trees are present, cut a slit from the edge of the fabric to the base of the tree and slip fabric around the base. Since the slits will tend to expose the soil below, it is recommended that the slit be overlapped with strips of fabric wide enough to overlap the slit by 7.6 cm – 12.7 cm (3 – 5 in) on each side.
- During installation it is recommended that you use our Quest ® Fabric & Garden Staples to securely anchor each section of the Better Barriers™ product to the soil.
- Cover the fabric with a minimum of 7.6 cm (3 in) of bark or mulch. If covering with stone, marble chips or crushed clay, then cover with at least 7.6 cm – 10 cm (3 – 4 in) of material and use enough small-sized pieces to fill in the resulting spaces. All landscape fabrics are weakened by U.V. rays of the sun which makes complete coverage important for long-term satisfying results.
- Occasionally water may initially puddle on top of the fabric. To quicken water penetration, apply a solution of 3 tablespoons (53 mL) of dish detergent per 4.5 L (gallon) of water then spread this over 42 m² (450 ft² ) of fabric. This is completely safe to plants.
Installation Instructions
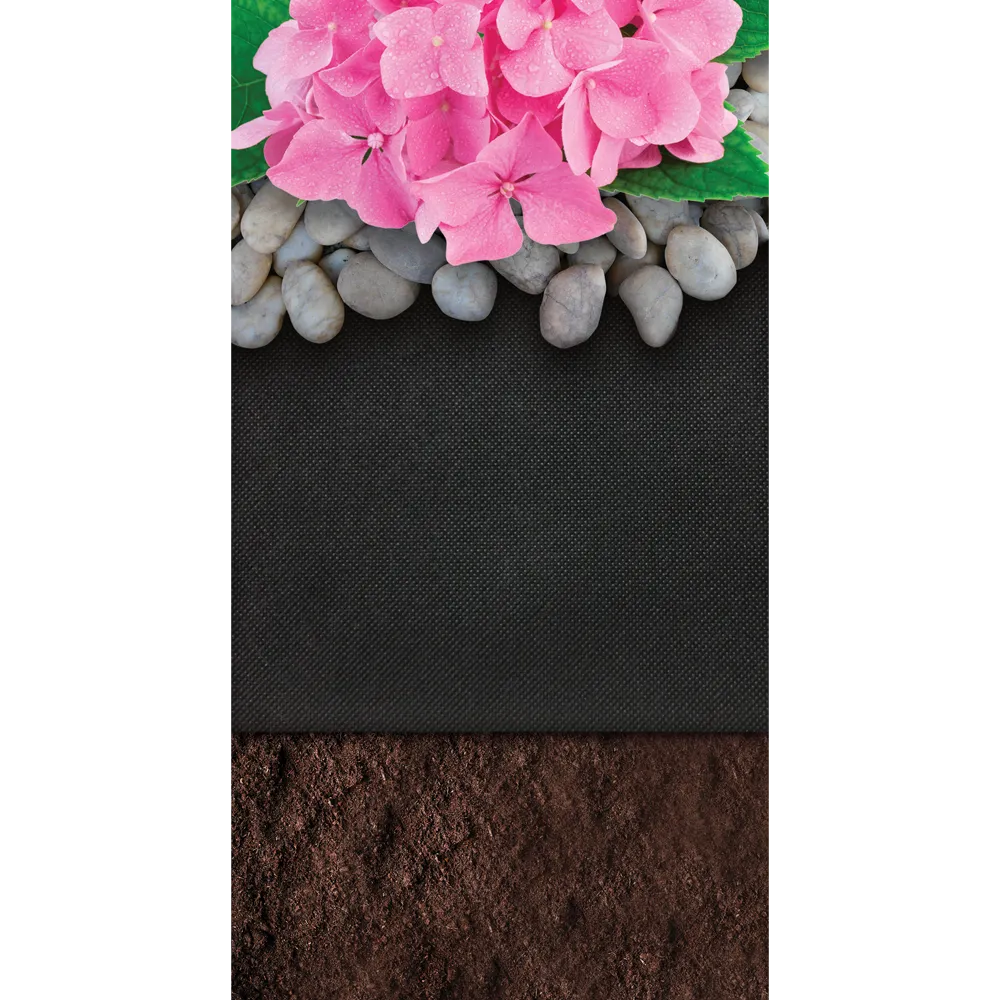
- Roll out our Better Barriers™ Landscape Fabric and cut to length. When overlapping the product allow at least a 7.6 cm – 12.7 cm (3 – 5 in) overlap.
- For new plants cut an X in the product large enough to plant through. If plants exist cut an X large enough to slip the product over the plant. If very large shrubs or trees are present, cut a slit from the edge of the fabric to the base of the tree and slip fabric around the base. Since the slits will tend to expose the soil below, it is recommended that the slit be overlapped with strips of fabric wide enough to overlap the slit by 7.6 cm – 12.7 cm (3 – 5 in) on each side.
- During installation it is recommended that you use our Quest ® Fabric & Garden Staples to securely anchor each section of the Better Barriers™ product to the soil.
- Cover the fabric with a minimum of 7.6 cm (3 in) of bark or mulch. If covering with stone, marble chips or crushed clay, then cover with at least 7.6 cm – 10 cm (3 – 4 in) of material and use enough small-sized pieces to fill in the resulting spaces. All landscape fabrics are weakened by U.V. rays of the sun which makes complete coverage important for long-term satisfying results.
- Occasionally water may initially puddle on top of the fabric. To quicken water penetration, apply a solution of 3 tablespoons (53 mL) of dish detergent per 4.5 L (gallon) of water then spread this over 42 m² (450 ft² ) of fabric. This is completely safe to plants.
Accessories Required
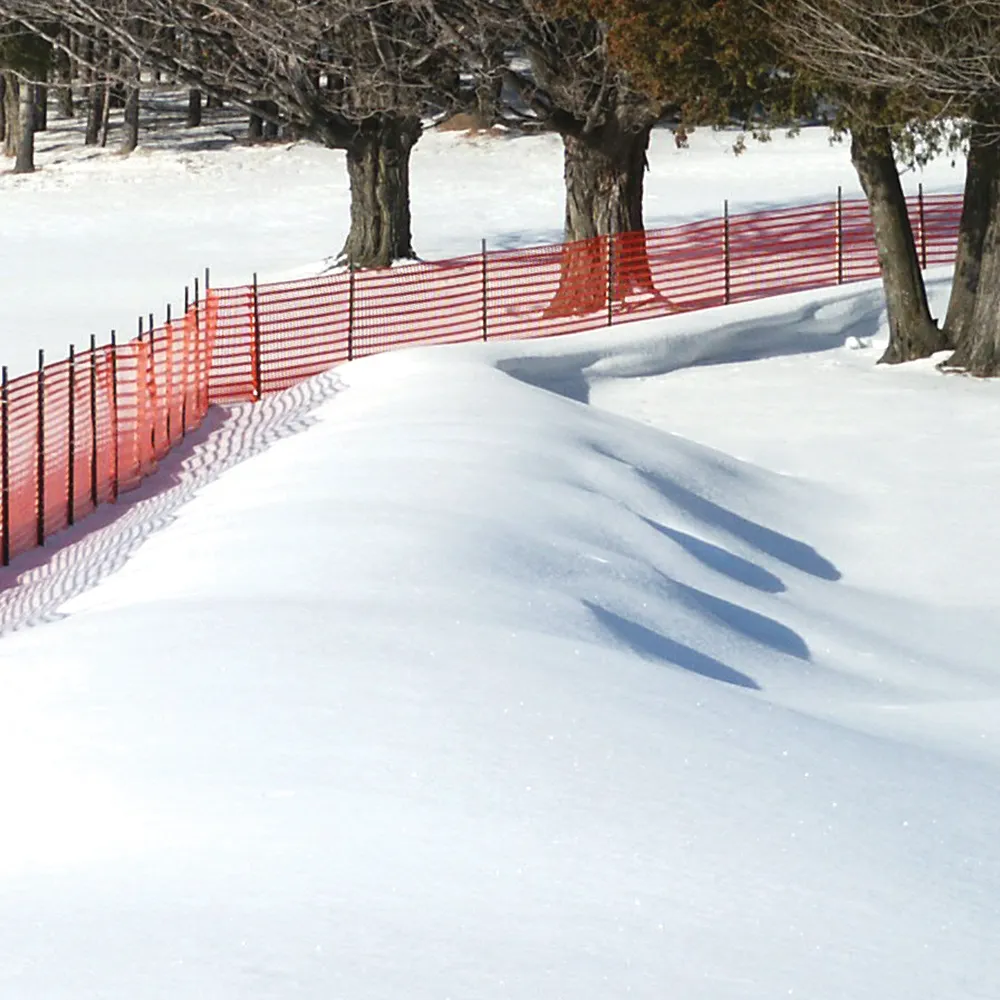
Suggested accessories required for installation of 50 feet of our Better Barriers™ SF Series Snow Control fence.
- 7 steel T-Posts (minimum 6 feet high)
- 7 wooden slats 1” x 2” x 4’
- 35 locking ties approximately 8”-10” long
Installation Instructions
- Determine the direction of the prevailing winds in your area and align the fence perpendicular to this direction for optimum drift control. Install the fence a minimum of 60 feet from the desired drift-free area.
- T-Posts should be inserted a minimum of 1.5’ in the ground and a maximum of 8’ (2.4m) apart.
- Vertical strands of fence must be sandwiched between the flat side of the T-Post and 1” x 2” wood slat.
- Secure the wooden slat, fence and the T-Post together using locking ties spaced at 1’ intervals (see illustration).
- Start the next roll by overlapping a minimum of 6” of fence at the last T-Post and then sandwich the 2 layers of fence as described in step 3.
- Fence should be tensioned by hand only. DO NOT USE MECHANICAL TENSIONERS.
- For the most efficient drift control, allow a 6” gap between the ground and fence bottom. This gap will allow a much longer and higher drift,greatly prolonging the effectiveness of the fence.
Accessories Required
Suggested accessories required for installation of 50 feet of our Better Barriers™ SF Series Snow Control fence.
- 7 steel T-Posts (minimum 6 feet high)
- 7 wooden slats 1” x 2” x 4’
- 35 locking ties approximately 8”-10” long
Installation Instructions
- Determine the direction of the prevailing winds in your area and align the fence perpendicular to this direction for optimum drift control. Install the fence a minimum of 30 feet from the desired drift-free area.
- T-Posts should be inserted a minimum of 1.5’ in the ground and a maximum of 8’ (2.4m) apart.
- Vertical strands of fence must be sandwiched between the flat side of the T-Post and 1” x 2” wood slat.
- Secure the wooden slat, fence and the T-Post together using locking ties spaced at 1’ intervals (see illustration).
- Start the next roll by overlapping a minimum of 6” of fence at the last T-Post and then sandwich the 2 layers of fence as described in step 3.
- Fence should be tensioned by hand only. DO NOT USE MECHANICAL TENSIONERS.
- For the most efficient drift control, allow a 6” gap between the ground and fence bottom. This gap will allow a much longer and higher drift,greatly prolonging the effectiveness of the fence.